Installing roller blinds may seem tricky, but it’s actually quite easy. With the right tools and a little bit of time, you can have your roller blinds up in no time. This guide will help you install roller blinds like a pro!
Why Choose Roller Blinds?
Roller blinds are a great choice for any home. They’re simple, easy to use, and give you full control over the amount of light that comes in. Plus, they come in lots of styles and colors, so you can find the perfect one for your room. The best part? Installing them is super easy!
Tools You’ll Need
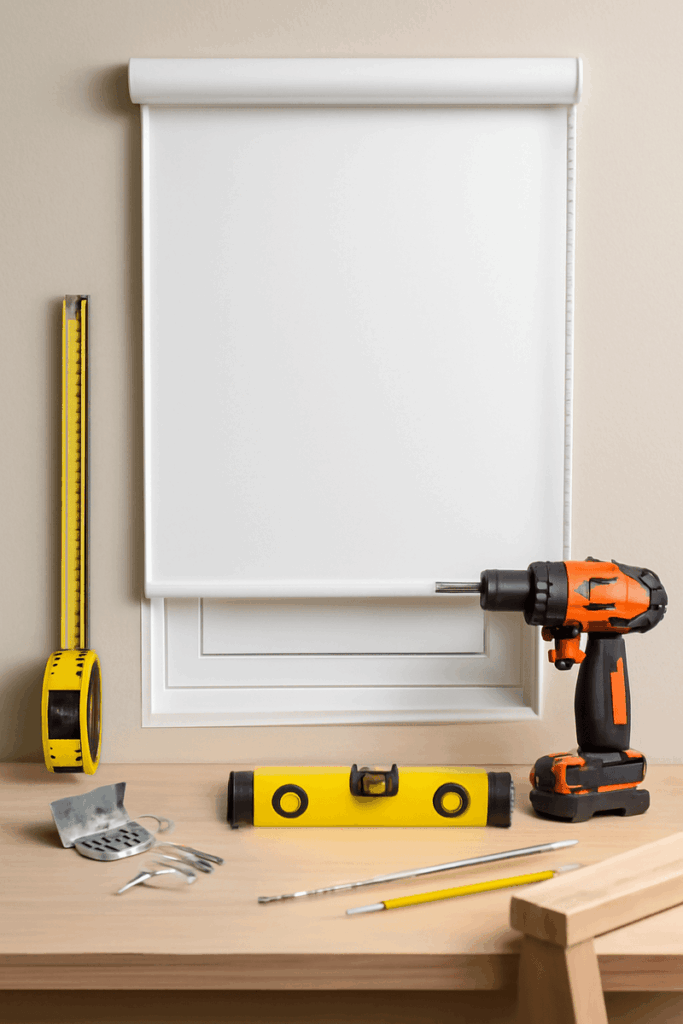
Before you start, make sure you have these tools ready:
- Roller blinds (make sure they fit your window)
- Measuring tape
- Pencil
- Ruler
- Power drill with the right drill bits
- Screws and brackets (usually come with your blinds)
- Screwdriver
- Level (to keep everything straight)
- Step ladder (if needed)
Step-by-Step Guide to Installing Roller Blinds
Step 1: Measure Your Window
The first thing you need to do is measure your window to make sure the roller blinds will fit.
- Measure the Width: Use your measuring tape to measure the width of the window where you want the blinds. Make sure to measure from one side to the other at the top of the window.
- Measure the Length: Measure the length from the top of the window down to where you want the bottom of the blinds to hang.
Step 2: Mark the Spot for the Brackets
Next, you’ll need to mark where the brackets will go.
- Mark the Top Position: Use your pencil to mark where you want the brackets to be placed. Make sure they are lined up evenly across the top of the window.
- Position the Brackets: Put the brackets 3-4 inches from each side of the window. If you’re installing the blinds inside the window frame, place the brackets on the sides. For outside mounting, place them above the window frame.
Step 3: Drill Holes for the Brackets
Now it’s time to drill the holes for the brackets.
- Drill at the Right Angle: Use your drill to make small pilot holes where you marked the brackets. Make sure to drill straight down to keep everything level.
- Use a Level: Check your marks with a level to make sure the brackets are lined up straight.
Step 4: Attach the Brackets
Once the holes are drilled, you can attach the brackets.
- Screw the Brackets into Place: Use a screwdriver to tighten the screws into the holes. Make sure the brackets are secure, but don’t over-tighten them.
- Check for Stability: Give the brackets a little tug to make sure they are strong and won’t move.
Step 5: Hang the Roller Blind
Now, it’s time to hang the roller blind.
- Place the Blind into the Brackets: Carefully lift the roller blind and slide it into the brackets. Most blinds will easily click into place.
- Secure the Blind: If there are any clips or pins, fasten them to hold the blind in place.
Step 6: Test the Blind
It’s time to check if everything works.
- Test the Roller: Roll the blind up and down to make sure it moves smoothly. If it doesn’t, adjust the brackets or make sure everything is aligned properly.
- Adjust the Length: If your blinds have a pull cord or chain, adjust the length to the height you want.
Step 7: Finishing Touches
Take a step back and look at your work! If needed, make small adjustments so the blinds hang evenly and look just right.
Tip: For a more polished look, you can add end caps or a valance to hide the top of the blinds.
How to Keep Your Roller Blinds in Good Shape
To keep your roller blinds looking nice:
- Dust them regularly to keep them clean.
- Wipe down the brackets and roller mechanism to make sure they work well.
- If your blinds get dirty, follow the cleaning instructions on the label.
Conclusion
Installing roller blinds is a simple project that can make a big difference in your home. By following these easy steps, you can have your blinds up and working in no time. Whether you’re a beginner or experienced DIYer, roller blinds are a great choice for any room.
If you need help finding the perfect roller blinds, check out our Curtain Setup Shop for a wide variety of options.
Got Questions? If you need any help with installation or choosing blinds, don’t hesitate to contact us!